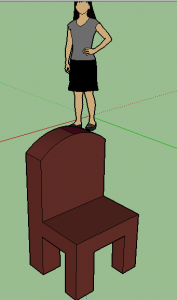
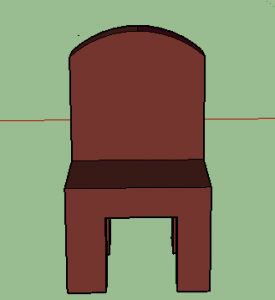
Chair
Description-
Students use basic tools in SketchUp to create a real life object prototype at actual size or to scale using actual object measures for accurate representations. The purpose of this exercise is to brush off the rust from previous SketchUp work and/or learn basic Sketchup tools working within a 3D modeling environment. Students should include as much detail as possible. Example: phone case – be sure to show height, width and depth with accurate measures, switches, home button, camera and microphone slots., and screen try to build from scratch or modify a template. Objects must be made “solid” in order to print.
Reflection-I didn’t use many tools for this project. I only used the rectangle tool, the push pull tool, the paint bucket, the line tool and the arc tool in the program Sketch up. First we started with a rectangle on the ground and then I used the push pull tool to raise it from the ground. After that we used the line tool and drew on legs and the back of the chair on all four sides. Then we used the push pull tool and cut out the legs and the back off the chair. When e were done with all that I used the arc tool and cut an arc on the back of the chair. I am really exited for all the other amazing projects to see and do.

