3D Design
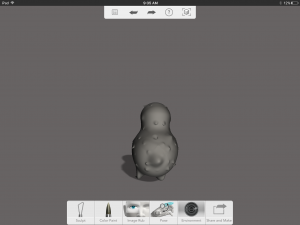
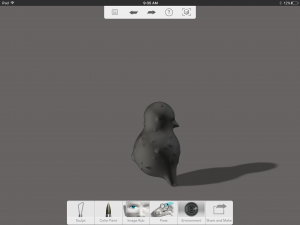
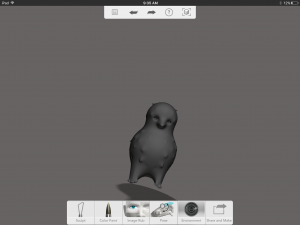
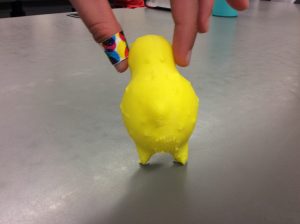
Description- Students will create a detailed “Creature” with realistic/lifelike features. They will reference the 123d Gallery designs for inspiration and example. Attention to detail is essential. Students are encouraged to experiment, revisit all the tools, and base forms before settling on a final creature design. Students should “Bake” their designs so they can use the sculpt tools to add details for printer output. They apply paint details and other effects that won’t show in the printed piece if they like.export, their final “Real Life Creature”, from their iPads via their student 4J email accounts. These files will then be downloaded to their files1 server account. Students will Import the .OBJ file of their “Creature” design to the printer queue on the dedicated printer computers, the add the file to the Makerbot 3D printer desktop software when they are up to print. They’ll make final design tweaks on their creature, then print their project. Students will take 3 screen shots of their project in the 123d Sculpt+ app display, and 3 pictures of their printed project – these get uploaded to their assignment page presentation on their ePortfolio.
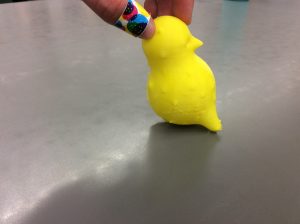
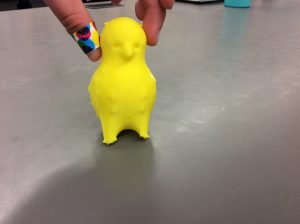
Reflecton- I had really fun doing 3D Design. Sometimes it was a challenge because the sculpting was hard because I thought it had to be perfect. Now I know that is not the case. I am happy I stuck with it because the end product is pretty cool.