Apr 23 2016
Nut and Bolt in 123d Design
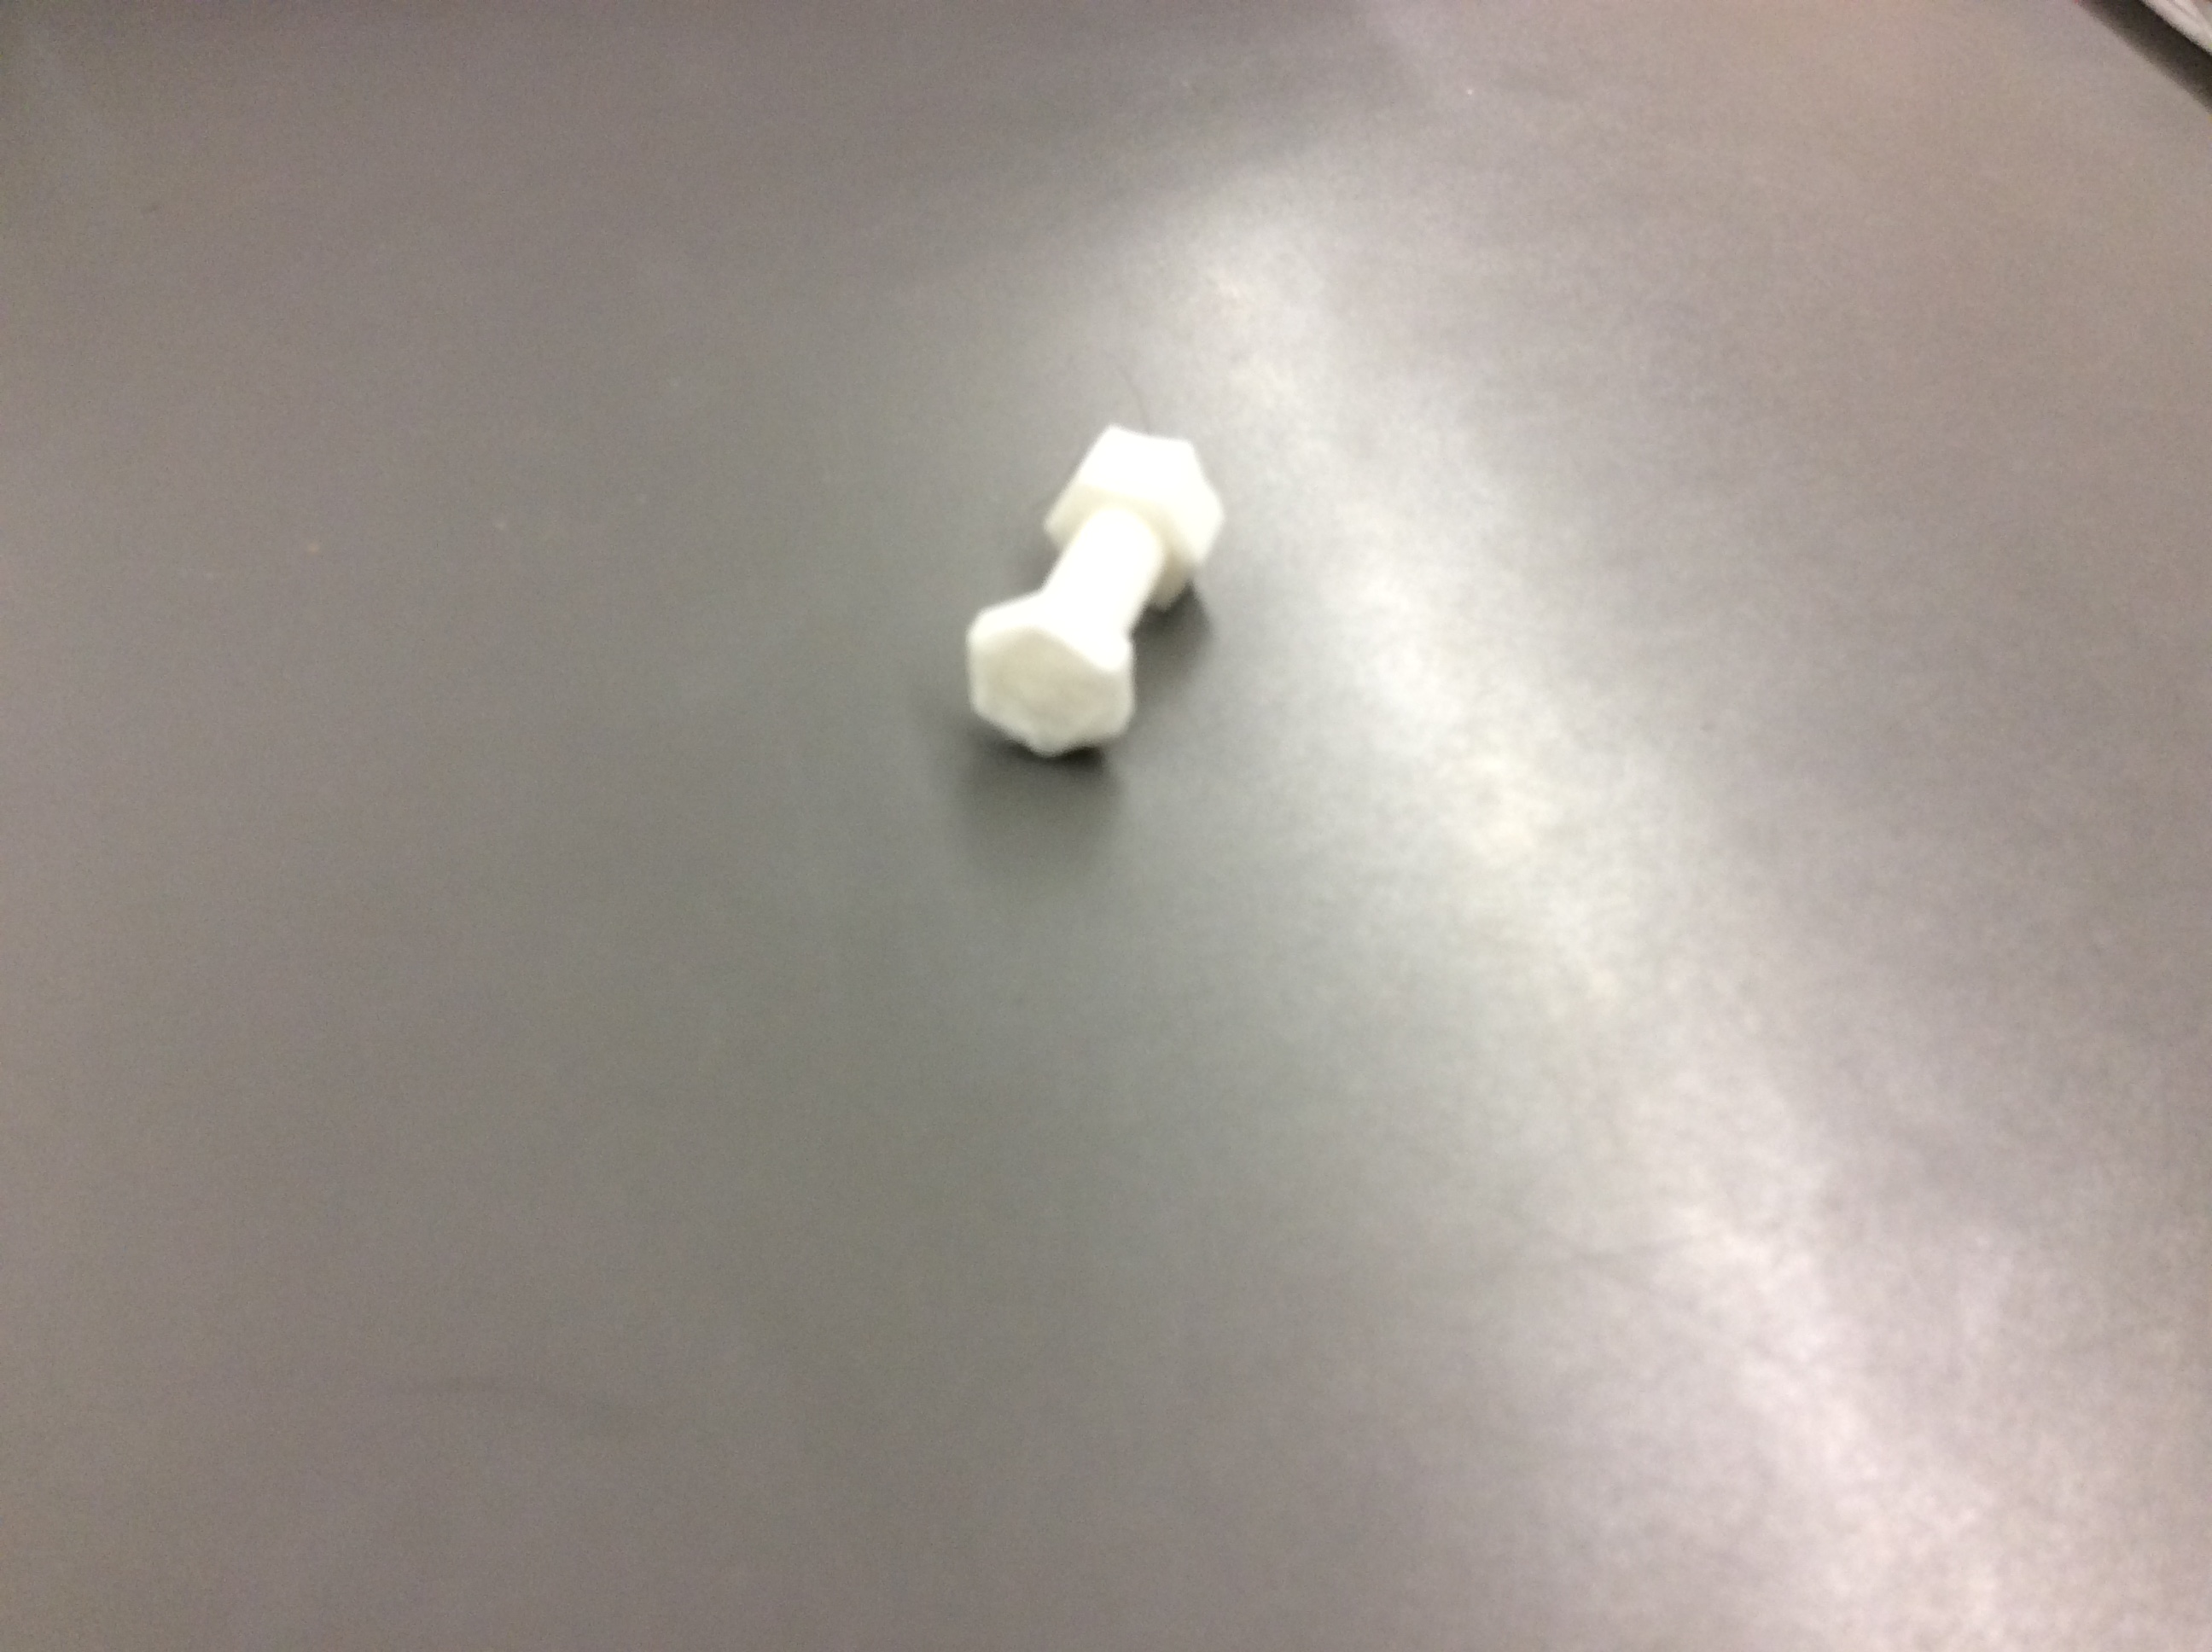
Description: Students will follow the step by step 123d Design Nut and Bolt tutorial (using headphones) to gain more thorough tool use and application. Students may consult each other in small groups while completing this tutorial exercise. Students will export their finished Nuts and Bolts as two separate .stl files and put the in the printer queue for printing. Individual files will be placed on the same printer build plate so they are printed at the same time. Screen shots (at least 2 perspectives) will be included in their ePortfolio assignment page, along with 2 pictures of the printed piece. Estimated time to completion – 3 class sessions.
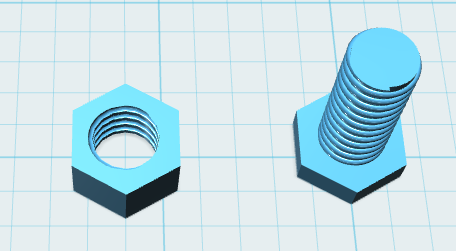
Nut and Bolt in 123d Design:
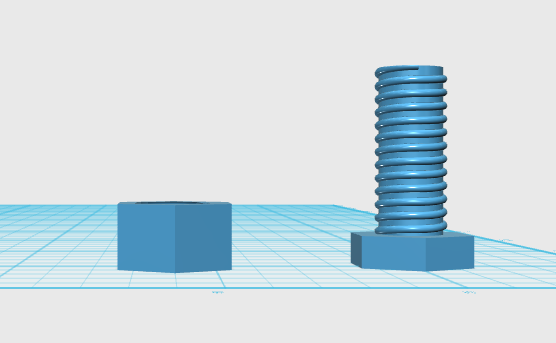
Live Nut and Bolt:
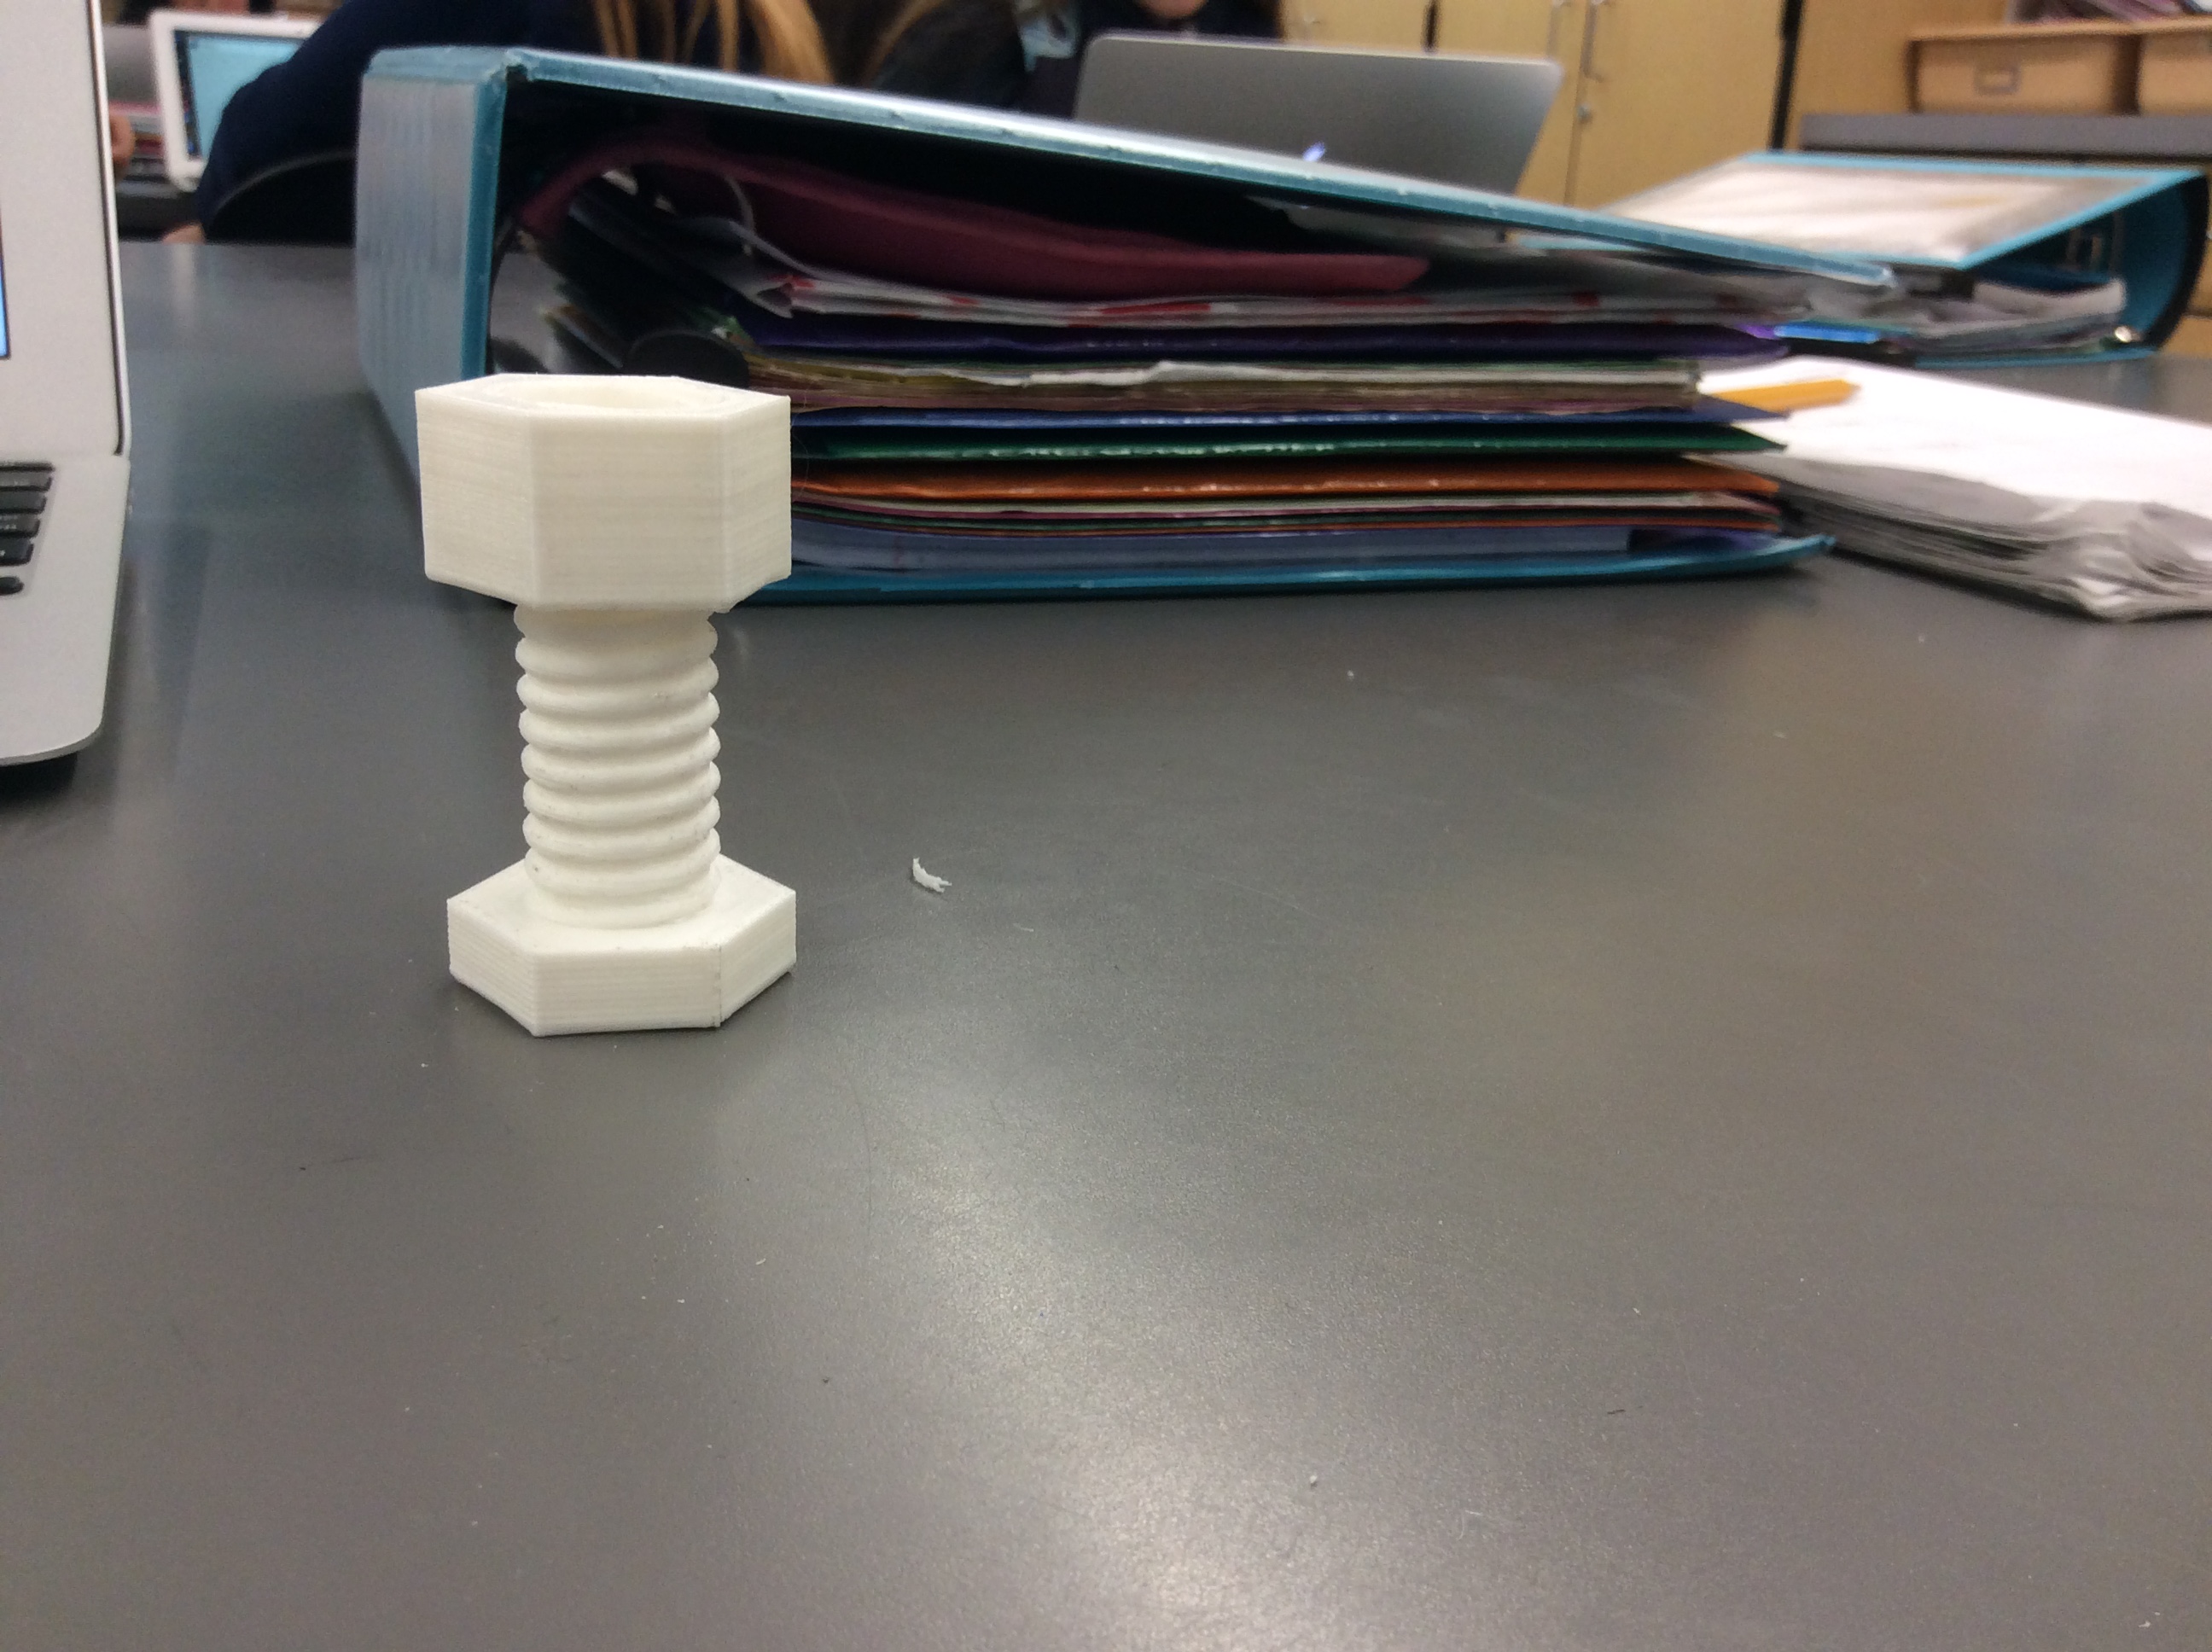
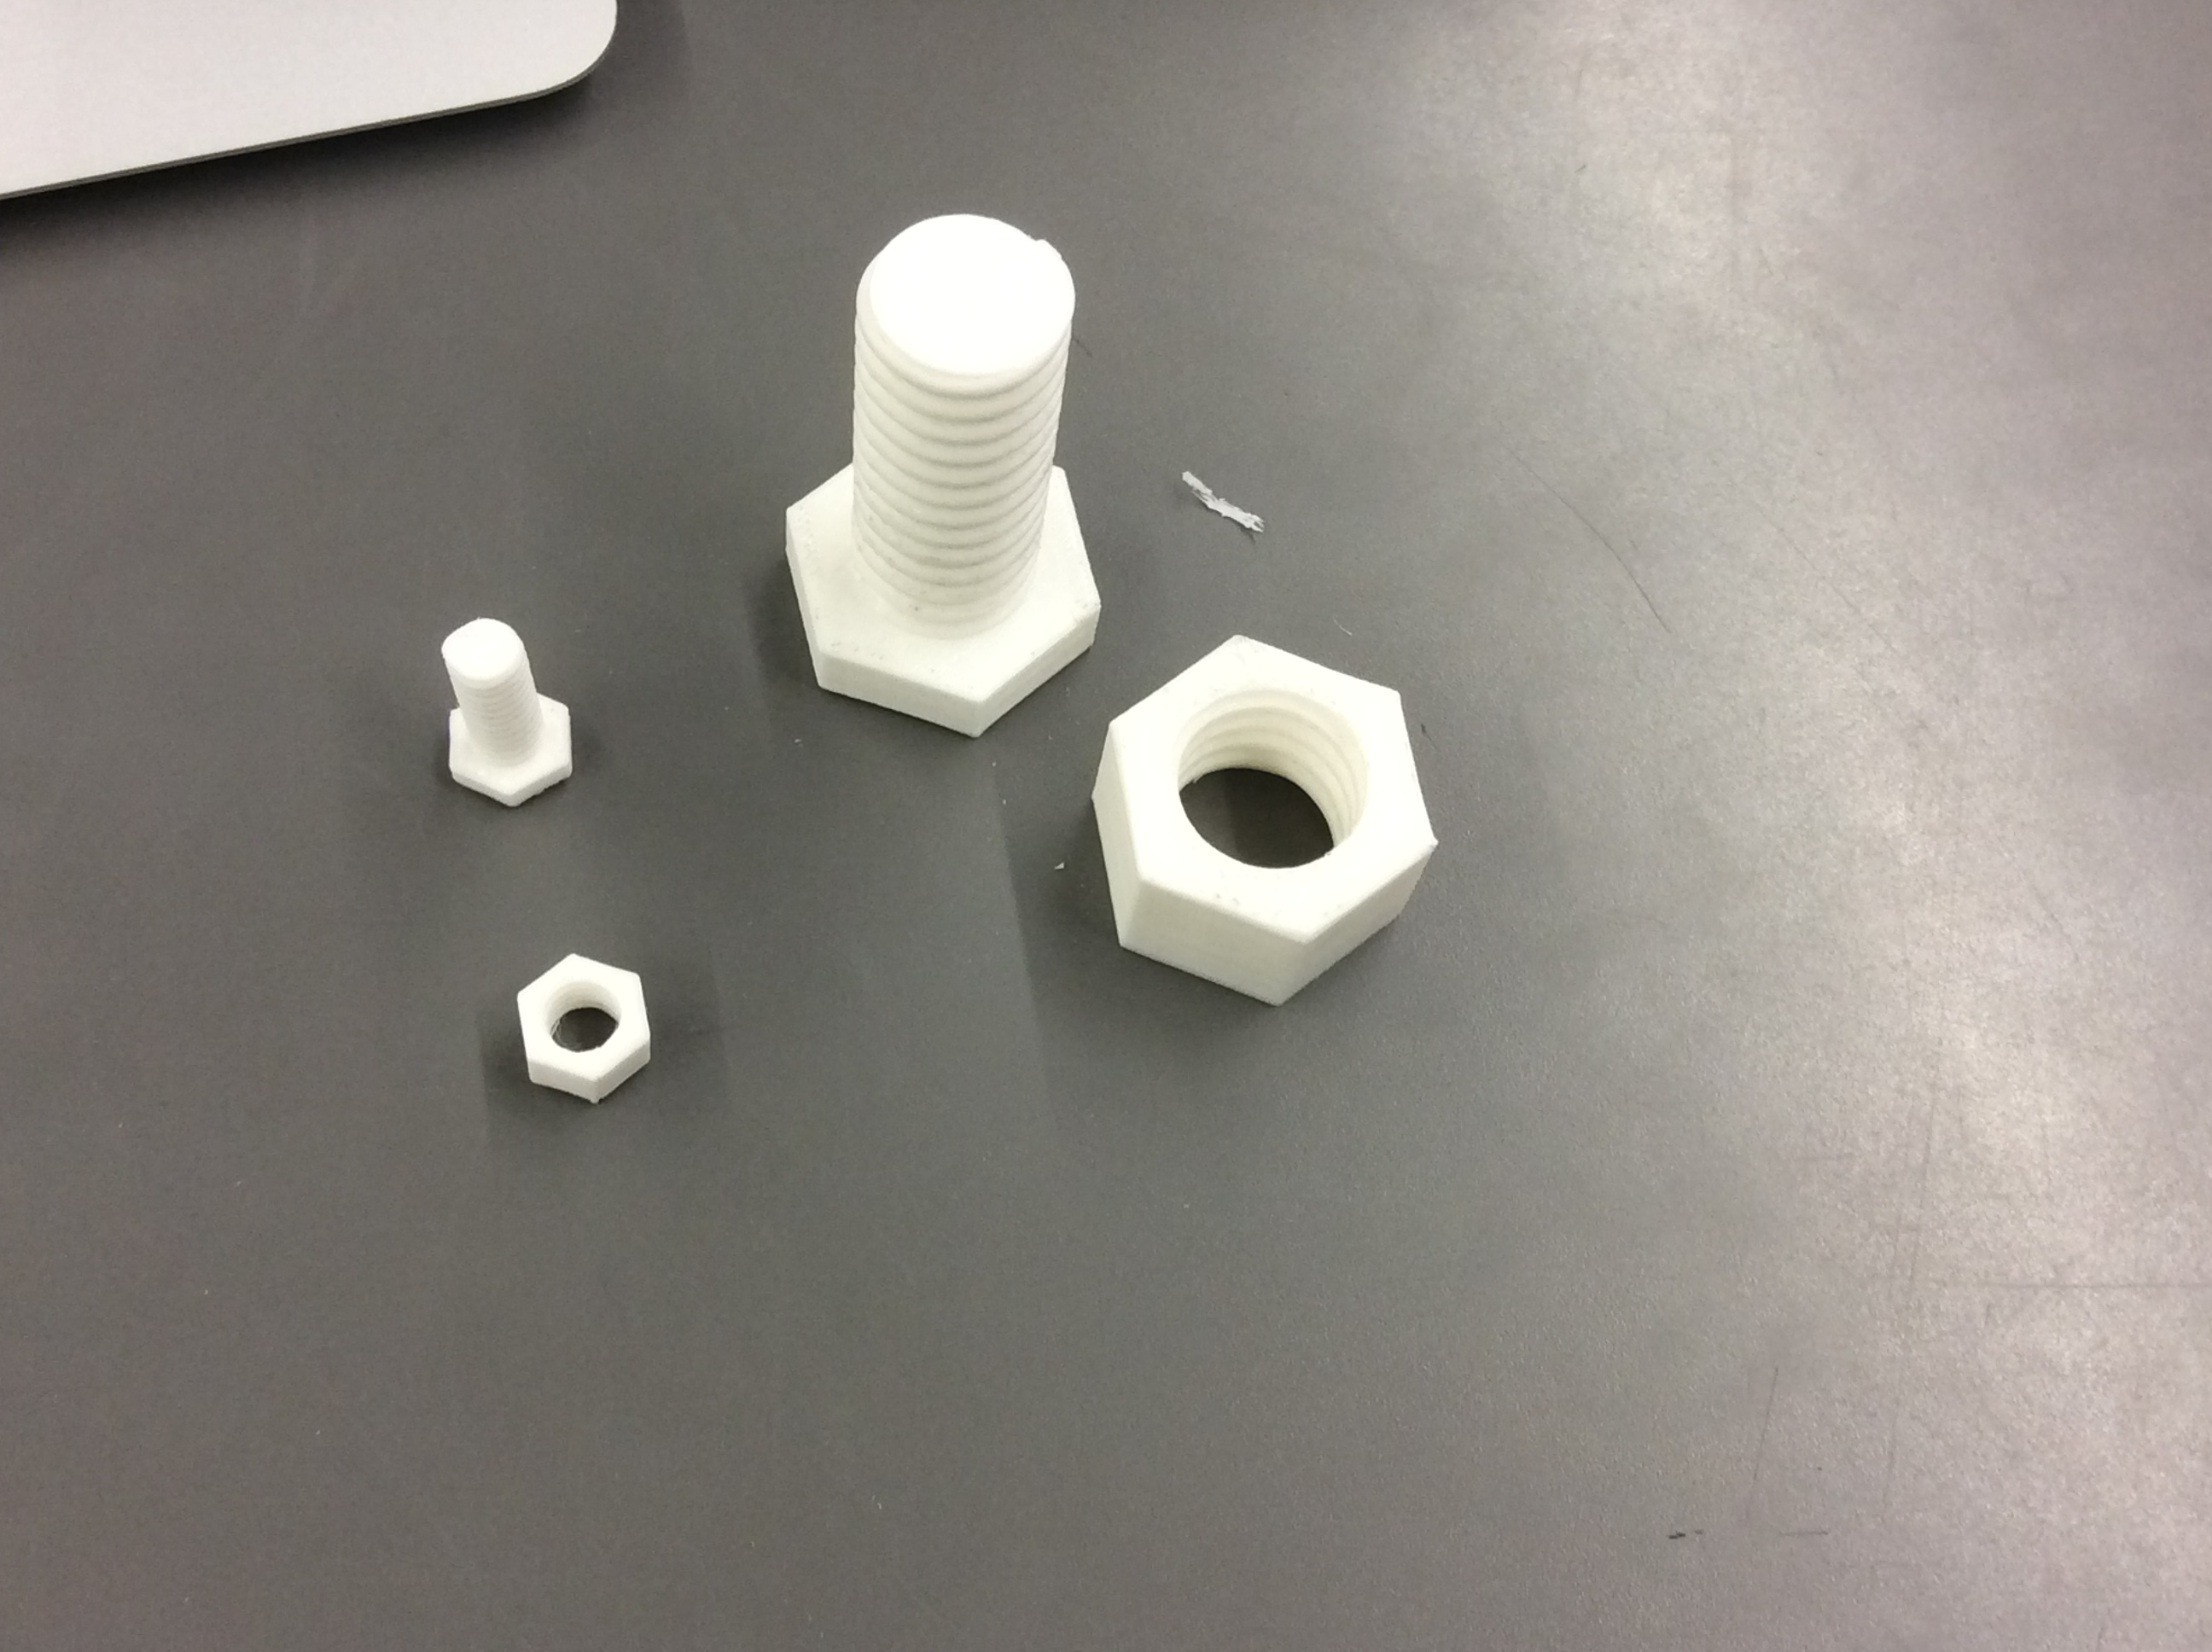
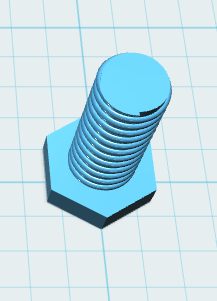
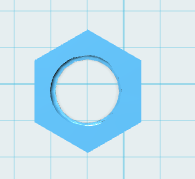
Reflection: This assignment was very fun and I am glad that we got to print it. There were a lot of steps to be able to make this nut and bolt. The first thing I made was the thread that I was going to use on the bolt and to make the shape if the nut. The thread is a cylinder with torus’ cut in half tilted at six degrees all the way to the top. Then I copied and pasted the thread making it larger. The nut is a polygon that is extruded, then the thread is subtracted from it. The base of the bolt is also a polygon the same size, but skinnier. To finish the bolt all you had to do was snap the thread and the extruded polygon together. This project was a good challenge that was very fun.