Realistic Creature
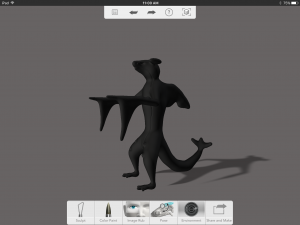
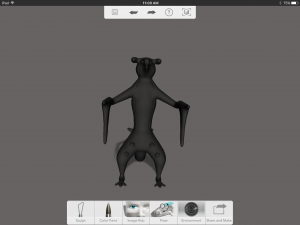
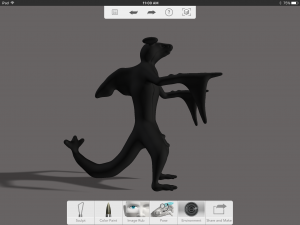
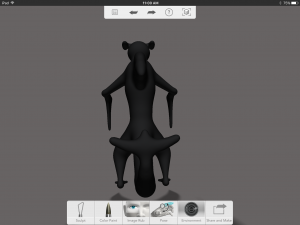
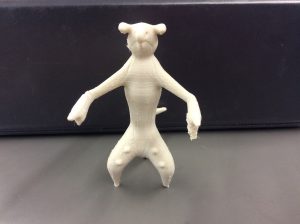
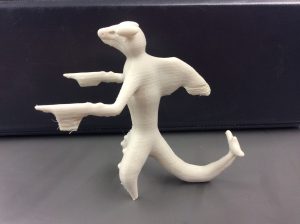
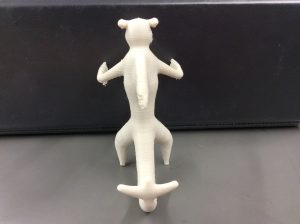
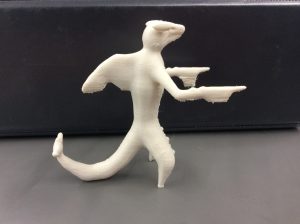
Students will create a detailed “Creature” with realistic/lifelike features. They will reference the 123d Gallery designs for inspiration and example. Attention to detail is essential. Students are encouraged to experiment, revisit all the tools, and base forms before settling on a final creature design. Students should “Bake” their designs so they can use the sculpt tools to add details for printer output. They apply paint details and other effects that won’t show in the printed piece if they like.export, their final “Real Life Creature”, from their iPads via their student 4J email accounts. These files will then be downloaded to their files1 server account. Students will Import the .OBJ file of their “Creature” design to the printer queue on the dedicated printer computers, the add the file to the Makerbot 3D printer desktop software when they are up to print. They’ll make final design tweaks on their creature, then print their project. Students will take 3 screen shots of their project in the 123d Sculpt+ app display, and 3 pictures of their printed project – these get uploaded to their assignment page presentation on their ePortfolio.
This project was a lot of fun to complete. The hardest part of this whole process was making the “skeleton” of the creature. For this creature I had to use almost every tool open to me. I had to change the size of pieces, drag joints from here to there, and more. The hardest part to make on this creature was by far the fin. After I “baked” my creature I began to sculpt it. Sculpting allows you to make spikes, Claws, teeth, and even eye sockets. This part was also very challenging but fun once I got the hang of it. Even though the printer can only print one color I painted it for fun after I was done sculpting. Overall I am very satisfied with the way my creature turned out and i had a lot of fun with this assignment!
