Luminaire 3D
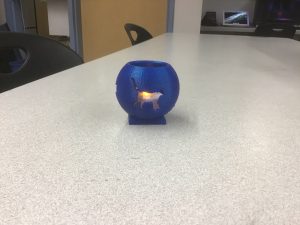
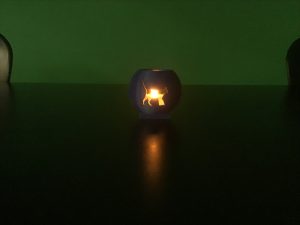
Students will be introduced to the Luminaire project in a class demonstration, then follow example on video and in class demo to complete the assignment. Students may consult each other in small groups while completing this project. Note: 1. Must build a small platform/base at 5-8mm thick. 2. Must find a suitable pattern to subtract out for the sides. Students will export their finished luminaire as an .stl file and put the in the printer queue for printing. Screen shots (at least 2 perspectives) will be included in their ePortfolio assignment page, along with 2 pictures of the printed piece. Estimated time to completion – 2-4 class sessions. A comprehensive step by step tutorial link to complete the assignment is below.


Reflection:
What we did was we created a 3D luminaire. How we did it was we created the shape of the luminaire in 123D Design app and then I got to choose a pattern from the internet that the TA’s would approve. Next we made the pattern into a pdf I think from the app Adobe Illustrator C35 and we put pattern into the luminaire design and it became the design you see in the image. After that we printed it and I chose the printer that printed blue. I really enjoyed this because it was a new experience and I had never printed something 3D which was awesome.
