Replacing a Bicycle Freewheel
The freewheel is a mechanism on a bike’s back wheel that allows the rider to move without cranking the pedals. The freewheel sits in the middle of the Cassette (the cassette is another name for gears).
Before We talk about replacing the Freewheel, lets see how the freewheel works:
Now… How to change a Freewheel:
Tools Needed:
- Crescent Wrench
- Freewheel Tool (specific to bike)
Tips:
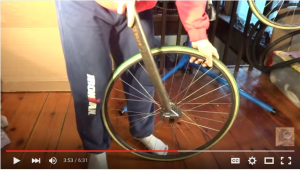
- Remove the back wheel off the bike. Please refer to the remove the back wheel page to complete this step.
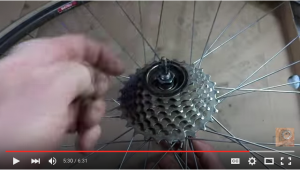
- Remove the skewer (the rod that goes through the middle of the cassette and wheel) by loosening the nut on top of the cassette.

- Remove the Spring and put it on the skewer (so you don’t lose it); put the skewer and spring aside.

- Find the correct freewheel remover tool that matches the notches in the bikes’ freewheel. Place over nut. Make sure the tool fits snugly with the notches on your bike. If the tool is falling off the wheel, you may want to put the skewer back through the wheel to help keep the tool on the bike.

- Use a wrench, Turn the Wrench Counter Clockwise to remove the cassette/freewheel. The nut is likely to be very tight. Use a bar (see picture) or use the wall to give yourself more leverage. Once you get the nut loose, you should be able to unscrew it with your hands.
- Put new freewheel on hub, and turn with hand

- Use freewheel tool and crescent wrench to tighten bolt
- Reinstall skewer and spring. Make sure you have the spring facing the correct direction (look at picture below)
 .
.- Reinstall Back Wheel. Please refer to the remove the back wheel page to complete this step.
- Test the bike, make sure everything is working.


4J Authentication Page: Here!