Installing a Road Bike Saddle
Tools Needed:
- Allen Wrenches (found on a bike multi-tool)
- Measuring Tape
- Lube
- Level
Tips:
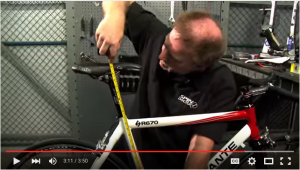
- Before you remove the old seat measure the hight of your current seat. Measure from the middle of the bottom bracket to the top of the saddle. Write the measurement down on your task analysis.
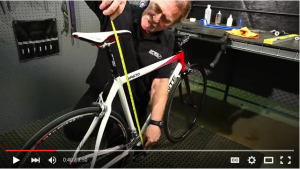
- To remove the old seat, use your allen wrench and loosen the clamp bolt that holds the seat in place underneath the saddle. Do not remove all screws, you want the top plate to be attached to the seat post.
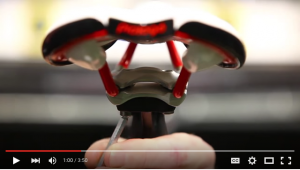
- After you remove the seat, you might have a top plate that looks like this:
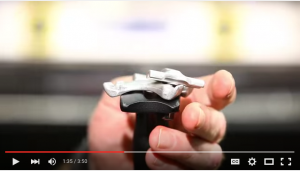
- To install the new saddle, slide the saddle under the top of the top plate, let the saddle rail slide right into the channel of the bottom plate.
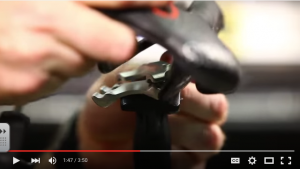
- Rotate the top plate so it is over both rails of the saddle
- Tighten the screws on the bottom. Finger tight first, then with an allen wrench. Do not tighten all the way, you will want it loose so you can make adjustments.
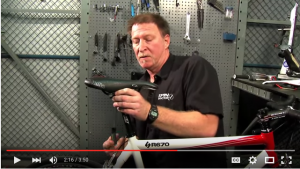
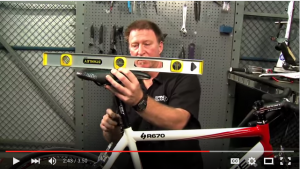
- Use carpenters level to make sure saddle is level. Tighten the screws while the level is on top of the seat
- Use your tape measure to make sure your new saddle is at the same height as your old saddle. Raise your seat post up or down to get to the right height.
4J Authentication Page: Here!