Adjusting Cantilever Brakes
Tools Needed:
- Allen Wrenches (Bike Multi-Tool)
- Philips Screwdriver
- Zip Ties (Optional)
Tips:
- Before you put the bike in the stand, make sure the wheels are properly placed in the frame’s dropouts.

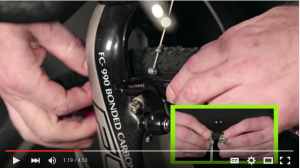
- Release the cable from the brake.

- If you have a zip tie, tie the zip tie around the brake you are adjusting. The zip tie will create a “tow in” for the brake pad and will eliminate noise.
- Reattach cable and align the break pad.
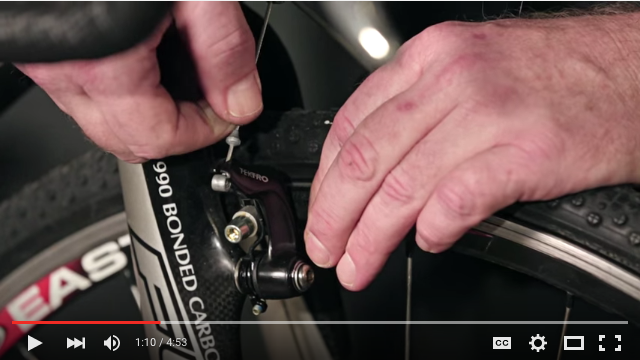
- Use a 5 mm allen wrench and loosen the locking nut (do not remove).
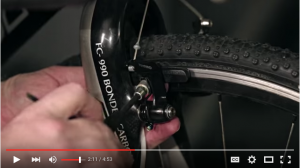
- Push the brake pad high against the rim. Make sure the front of the brake pad and the back of the break pad are equal distant from the rim.
- Once you have the brake pad positioned, tighten the bolt
- Adjust the brake pad on the other side of the tire.
- Once both brake pads are adjusted,
- undo the cable
- remove zip ties
- reattach the cable

- Squeeze the brake levers on the handle several times. Make sure the following
- The Brake arms are moving the same distance
- The brake pads are moving off the rim when you let go of the brake

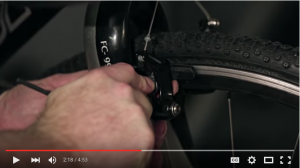
- If the Arms are not moving together, make an adjustment by twisting the screw on the bottom of the brake arm (he uses an allen wrench in the video, sometimes it is a philips head screw).
- Tightening screw creates more spring tension
- Loosening screw creates less spring tension
-

- Test the brake by squeezing the brake levers on the handlebars.


4J Authentication Page: Here!